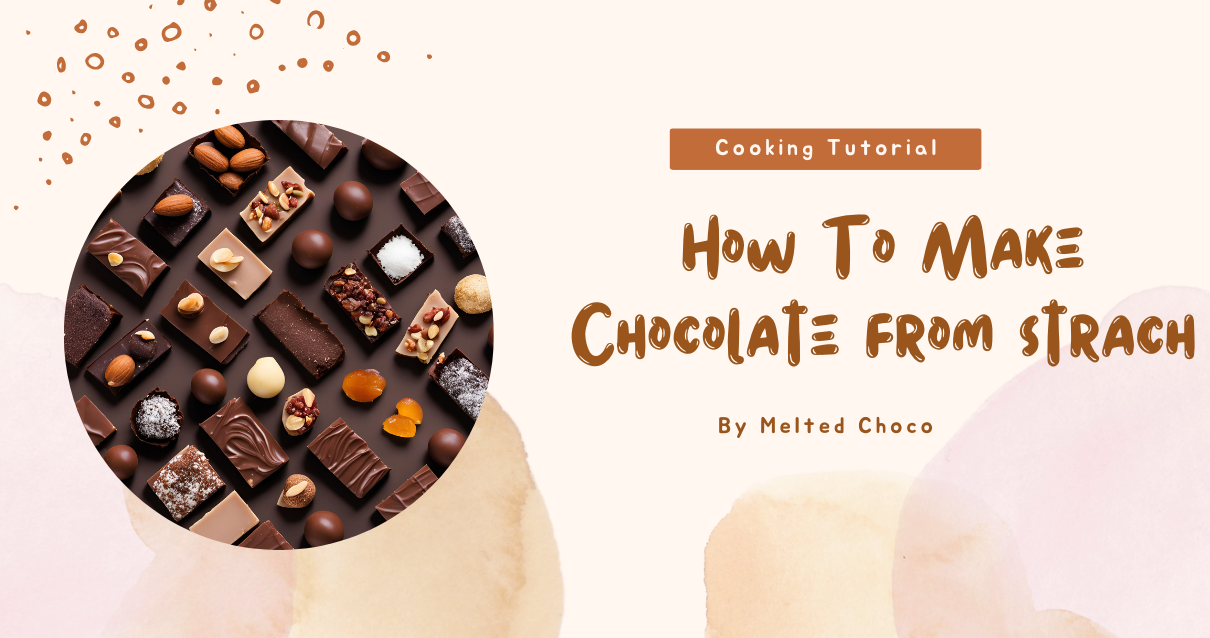
Post Title: “Craving Homemade Chocolate? Here’s How to Make Chocolate from Scratch”
Introduction:
If you’re like me and always on the hunt for that perfect chocolate flavor, why not make it yourself? The joy of crafting your own Chocolate from scratch is not just about the final product; it’s also about the process, the creativity, and the love that goes into each bite. Making chocolate from scratch gives you complete control over the quality and taste, allowing you to experiment and tailor it to your preferences. Whether you dream of rich, dark bars or creamy milk chocolate, the possibilities are endless. In this guide, we’ll explore everything you need to know to make delicious chocolate at home!
Why Homemade Chocolate Is the Best:
When it comes to chocolate, there’s something truly special about making it yourself. Here are some reasons why homemade chocolate reigns supreme:
1. Quality Control
When you make chocolate at home, you have complete control over the ingredients. You can choose high-quality cocoa beans, organic sweeteners, and natural flavorings. This ensures that your chocolate is free from preservatives, artificial flavors, and unnecessary additives. You can even source ethically produced cocoa, knowing that your chocolate is not only delicious but also responsibly made.
2. Customization
Every chocolate lover has unique taste preferences. Whether you prefer dark, milk, or white chocolate, you can easily customize your creation. Want it sweeter? Add more sugar. Love a touch of salt? Sprinkle some sea salt on top! The possibilities are endless. You can even experiment with spices, extracts, and fillings, creating a chocolate that’s uniquely yours.
3. Fun and Creative Process
Making chocolate can be a fun and creative endeavor. It’s an opportunity to experiment with flavors, textures, and presentations. From rich truffles to crunchy chocolate bark, you can let your imagination run wild in the kitchen. Plus, you can involve friends and family in the process, turning it into a memorable experience.
4. Healthier Choices
Homemade chocolate allows you to control the sugar content and choose healthier ingredients. You can opt for natural sweeteners like honey or maple syrup, or even sugar substitutes if you’re watching your sugar intake. This way, you can indulge in chocolate without the guilt!

The Science of Chocolate Making:
Understanding the science behind chocolate making can elevate your homemade confections to the next level. One of the most critical aspects is tempering.
1. What Is Tempering?
Tempering involves heating and cooling chocolate to stabilize it for confectionery use. This process ensures that the cocoa butter crystals form properly, resulting in chocolate that has a glossy finish and a satisfying snap when broken. Tempered chocolate also has a longer shelf life and is less likely to bloom.
2. Why Is It Important?
Improperly tempered chocolate can become dull, brittle, or even develop white streaks known as “bloom.” By mastering the tempering technique, you can create professional-quality chocolate that not only looks beautiful but also tastes fantastic. Properly tempered chocolate will melt evenly in your mouth, providing that luxurious experience chocolate lovers crave.
3. Basic Tempering Method:
Here’s a simple method to temper chocolate:
- Melting: Start by melting your chocolate slowly over a double boiler or in the microwave. If using the microwave, heat in short bursts (20-30 seconds) to prevent burning.
- Cooling: Once melted, remove it from the heat and let it cool to about 80°F (27°C) for dark chocolate or 78°F (26°C) for milk and white chocolate.
- Reheating: Gradually reheat the chocolate to 88-90°F (31-32°C) for dark chocolate or 86°F (30°C) for milk and white chocolate. Utilize a thermometer to measure the temperature precisely.
4. Alternative Tempering Methods
While the method above is the most common, there are other ways to temper chocolate:
- Seed Method: Melt three-quarters of your chocolate and then add the remaining chocolate (chocolate “seeds”) to cool it down and promote proper crystal formation.
- Tabling Method: Pour melted chocolate onto a marble slab and spread it out to cool. Then, gather it back into a pile and continue to work it until it reaches the desired temperature.
Making Chocolate at Home: A Beginner’s Guide
Ready to start making your own chocolate? Here’s a step-by-step guide to help you along the way:
Step 1: Gather Your Ingredients
For basic chocolate, you’ll need:
- Cocoa beans or cocoa liquor: The foundation of your chocolate. Cocoa liquor is made from ground cocoa beans and contains both cocoa solids and cocoa butter.
- Cocoa butter: Adds richness and smoothness. It’s essential for making chocolate creamy.
- Sugar: Sweetens the chocolate to your liking. You can use granulated sugar, powdered sugar, or even natural sweeteners like honey or agave syrup.
- Milk powder (optional): For milk chocolate. Choose whole milk powder for a richer flavor or nonfat for a lighter version.
Step 2: Roasting Cocoa Beans
If you’re starting with whole cocoa beans, roasting them is essential for developing flavor:
- Preheat your oven to 350°F (175°C).
- Spread the beans on a baking sheet and roast for about 15-20 minutes. Monitor them closely to prevent burning.
- Let them cool, then winnow (remove the shells) to extract the nibs. You can do this by gently cracking the beans and blowing away the shells.
Step 3: Grinding the Cocoa Nibs
Use a high-speed blender or food processor to grind the roasted cocoa nibs into a smooth chocolate liquor. This process may take a few minutes, so hang in there! The heat generated during grinding helps melt the fat in the nibs, creating a smooth consistency.

Step 4: Mixing Ingredients
Once you have the chocolate liquor, mix in the cocoa butter and sugar according to your desired recipe. Here’s a simple ratio:
- Dark Chocolate: 70% cocoa liquor, 30% sugar.
- Milk Chocolate: 50% cocoa liquor, 30% cocoa butter, 20% milk powder, and sugar to taste.
Stir until everything is well combined.
Step 5: Tempering the Chocolate
Follow the tempering process outlined earlier to prepare your chocolate for molding. This step is crucial for achieving a glossy finish and a satisfying snap.
Creating Chocolate Bars and Truffles:
Once you’ve mastered the basics, you can create a variety of delicious treats. Here are some ideas:
1. Chocolate Bars
Pour your tempered chocolate into bar molds. Before it sets, you can add toppings like nuts, dried fruits, or sea salt for an extra touch. For example, try adding crushed almonds and sea salt on top of dark chocolate for a delicious contrast.
2. Truffles
To make rich chocolate truffles, follow these steps:
- Prepare a ganache by mixing equal parts chocolate and heavy cream. Heat the cream until it’s about to boil, then pour it over the chopped chocolate. Let it rest for a minute, then stir until smooth.
- Let the mixture cool and set in the refrigerator for about 1-2 hours until firm.
- Once firm, scoop out small portions using a melon baller or teaspoon and roll them into balls.
- Roll them in cocoa powder, crushed nuts, or shredded coconut.You can also dip them in tempered chocolate for a glossy finish.
3. Chocolate Bark
For a quick and easy treat, spread melted chocolate onto a baking sheet lined with parchment paper. Sprinkle your favorite toppings like dried fruits, nuts, or pretzels. Allow it to set and break into pieces. Chocolate bark makes for a beautiful gift or a delicious snack.
4. Filled Chocolates
For filled chocolates, use a chocolate mold to create a shell, then fill it with your choice of ganache, caramel, or fruit puree. Once filled, seal the chocolates with more tempered chocolate and allow them to set.

How to Host a Chocolate-Making Party:
What better way to enjoy the chocolate-making experience than by sharing it with friends? Here’s how to throw a fun chocolate-making party:
1. Invite Friends
Gather a group of fellow chocolate lovers and invite them to your home for a fun afternoon of chocolate crafting. Make sure to send out fun invitations, maybe with a chocolate theme!
2. Set Up Stations
Create different stations for various chocolate-making activities—tempering, molding, and decorating. You can have a truffle-making station, a bar-making station, and even a tasting station!
3. Provide Ingredients and Tools
Make sure to have all necessary ingredients and equipment on hand. Consider providing some fun mix-ins and toppings for a creative twist! You might want to have different types of chocolate (dark, milk, white) available for everyone to experiment with.
4. Demonstrate Techniques
Kick off the party by demonstrating the chocolate-making process. Show your friends how to temper chocolate, pour molds, and make truffles. This way, everyone will feel confident trying it on their own.
5. Enjoy and Share
Once everyone has crafted their chocolate creations, have a tasting party to share and enjoy each other’s efforts. Set up a chocolate buffet with all the treats, and let everyone sample what they’ve made.
Creative Flavor Combinations to Try:
Now that you know the basics, why not get adventurous with some unique flavor combinations? Here are a few ideas to inspire your chocolate creations:
- Spicy Chocolate: Add a pinch of cayenne pepper or chili powder for a spicy kick. Pair with dark chocolate for an intense experience.
- Citrus Zest: Incorporate lemon or orange zest for a refreshing flavor. This works beautifully with milk chocolate.
- Herbal Infusion: Experiment with herbs like rosemary or thyme. Infuse the cream for your ganache with these herbs before mixing with chocolate for a unique twist.
- Coffee Kick: Mix in some finely ground coffee or espresso powder for a rich, mocha flavor. This pairs excellently with dark chocolate.
- Nutty Goodness: Incorporate various nuts, like hazelnuts, pistachios, or almonds, either chopped into the chocolate or as a coating for truffles.
- Sea Salt and Caramel: Create a decadent treat by pairing rich chocolate with homemade caramel and a sprinkle of sea salt on top.
Storage Tips for Homemade Chocolate:
To keep your chocolate creations fresh and delicious, follow these storage tips:
- Keep it Cool and Dry: Store chocolate in a cool, dry spot, away from direct sunlight. A pantry or cupboard works best.
- Seal in Containers: Use airtight containers to keep your chocolate safe from moisture and odors. This is especially important for truffles and filled chocolates.
- Refrigerate if Necessary: If you live in a hot climate, consider refrigerating your chocolate. However, be aware that this may cause condensation when removed from the fridge, potentially affecting the texture. If refrigerating, allow the chocolate to return to room temperature before consuming.
- Label and Date: If you make different types of chocolate or have multiple batches, label and date your containers to keep track of freshness.
Conclusion:
Making chocolate from scratch is a delightful journey filled with flavor, creativity, and joy. Whether you’re crafting beautiful bars, decadent truffles, or whimsical chocolate bark, the satisfaction of creating something delicious from scratch is unparalleled. With a little patience and practice, you’ll master the art of chocolate making and impress your friends and family with your homemade treats. So gather your ingredients, embrace your creativity, and indulge in the sweet world of homemade chocolate!
Contact us:


Recent Posts
Health Benefits of Dark Hot Chocolate
Hot Chocolate Toppings and Pairings
The Ultimate Classic Fudgy Brownies Recipe