Chocolate cake is one of the most beloved desserts worldwide, cherished for its rich flavor and moist texture. But what if you don’t have an oven or can’t use eggs? Fear not! In this comprehensive guide, we’ll show you how to create a delicious chocolate cake without an oven and without eggs. Not only will we provide a step-by-step recipe, but we’ll also explore creative decoration ideas, variations, and tips to ensure your cake turns out perfectly every time.
Why Make a No-Oven, No-Egg Chocolate Cake?
There are several reasons to try making this unique chocolate cake:
- Convenience: Not everyone has access to an oven, especially in small apartments or during summer heat waves when you want to avoid heating up your kitchen.
- Dietary Needs: This recipe is perfect for those following a vegan diet or those with egg allergies. It allows everyone to enjoy a slice of chocolate heaven.
- Quick and Easy: This cake comes together quickly, making it a great last-minute dessert option for gatherings or cravings.
- Fun Activity: Making a cake without the traditional methods can be a fun activity to do with kids or friends, encouraging creativity and experimentation.
- Creative Freedom: You can easily modify the recipe to suit your taste, whether that means adding different flavors, using alternative sweeteners, or incorporating healthy ingredients.
Ingredients
To create a delightful no-oven, no-egg chocolate cake, gather the following ingredients:
For the Cake:
- 1 ½ cups (150g) all-purpose flour
- 1 cup (200g) granulated sugar
- ⅓ cup (40g) unsweetened cocoa powder
- 1 teaspoon baking soda
- ½ teaspoon salt
- 1 cup (240ml) plant-based milk (such as almond, soy, or oat milk)
- ¼ cup (60ml) vegetable oil (or melted coconut oil)
- 1 tablespoon apple cider vinegar (this reacts with baking soda for a fluffy texture)
- 1 teaspoon vanilla extract
- 1 cup (240ml) water

For the Chocolate Frosting:
- 1 cup (230g) dairy-free butter, softened
- 3 ½ cups (440g) powdered sugar
- ½ cup (50g) unsweetened cocoa powder
- ¼ cup (60ml) plant-based milk
- 1 teaspoon vanilla extract
Optional Add-Ins:
- 1 cup (150g) chocolate chips (dairy-free if desired)
- ½ cup (50g) chopped nuts (walnuts or pecans for added crunch)
- 1 teaspoon espresso powder (to enhance chocolate flavor)
Step-by-Step Process
1. Prepare Your Tools
Before you start, gather your tools:
- Mixing Bowls: You’ll need a large bowl for mixing ingredients and a smaller bowl for wet ingredients.
- Whisk or Electric Mixer: To combine ingredients smoothly.
- Heatproof Container: A bowl or cake pan that fits into your steamer or saucepan.
- Steamer or Large Saucepan with Lid: For cooking the cake.
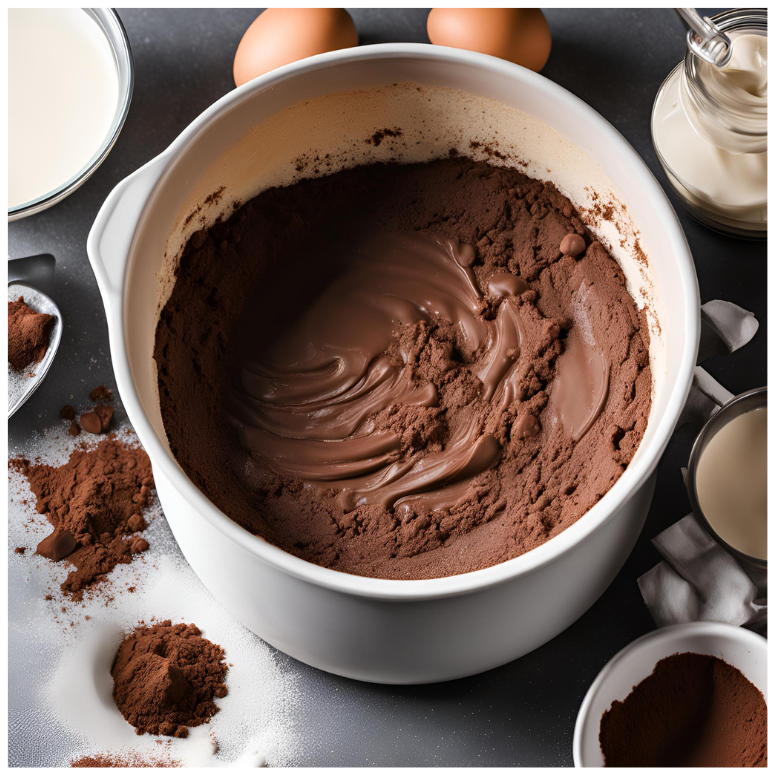
2. Mix the Dry Ingredients
In a spacious mixing bowl, add the following dry components:
- All-Purpose Flour: This will serve as the foundation of your cake.
- Granulated Sugar: This adds sweetness and helps create a tender texture.
- Cocoa Powder: This provides that rich chocolate flavor we love.
- Baking Soda: This will help your cake rise and become fluffy.
- Salt: This enhances the overall flavor of the chocolate.
Whisk these ingredients together thoroughly to ensure they are well combined, which is key for even baking.
3. Combine the Wet Ingredients
In a separate bowl, mix together the following wet ingredients:
- Plant-Based Milk: This is the liquid base of your cake.
- Vegetable Oil: Keeps the cake moist.
- Apple Cider Vinegar: Helps the cake rise by reacting with the baking soda.
- Vanilla Extract: Adds depth to the flavor.
Stir the wet ingredients until well combined. The vinegar will start reacting with the baking soda in the dry mix, so work efficiently!
4. Combine Wet and Dry Mixtures
Gradually pour the wet ingredients into the bowl with the dry ingredients. Mix gently using a whisk or spatula until just combined. Mix gently until the ingredients are just combined; it’s perfectly fine if there are a few small lumps.
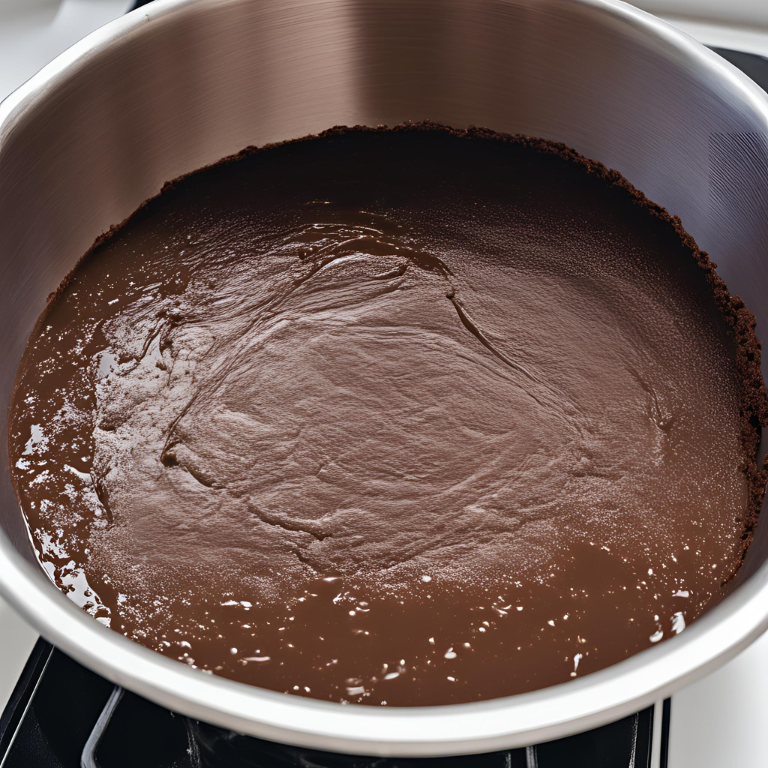
5. Incorporate Water
Slowly add in the water, mixing until the batter is smooth. This will make your batter quite thin, but this is what you want for a moist cake.
6. Prepare for Cooking
Grease your heatproof container with a bit of oil to prevent sticking. Pour the cake batter into this container. If you’d like, you can also line it with parchment paper for easier removal.
7. Steam the Cake
If you’re using a steamer, place the bowl inside and cover it with a lid. If you’re using a saucepan, fill it with about an inch of water, place the bowl inside, and cover with the lid. Bring the water to a gentle boil and let the cake steam for about 30-40 minutes.
8. Check for Doneness
To determine if your cake is fully baked, insert a toothpick into the center. If it comes out clean or with just a few crumbs attached, the cake is done. If it has wet batter on it, steam for a few more minutes.

9. Cool the Cake
Carefully remove the container from the steamer or saucepan (it will be hot!). Allow the cake to cool in the container for about 10 minutes, then gently remove it and let it cool completely on a wire rack.
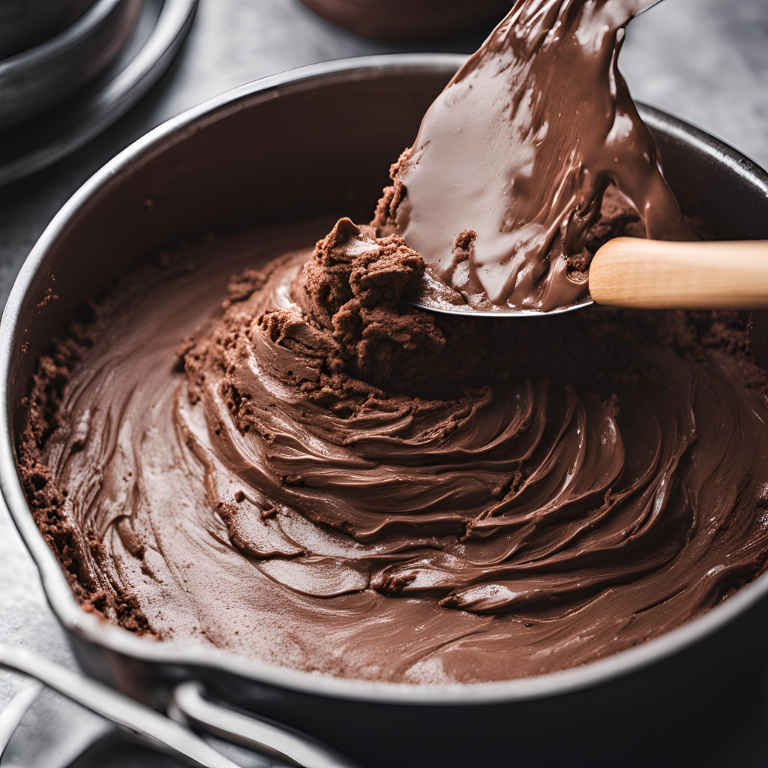
Making the Chocolate Frosting
While your cake is cooling, you can prepare a rich chocolate frosting to go on top.
Steps for Frosting:
- Cream the Butter: In a mixing bowl, beat the softened dairy-free butter until it’s creamy and smooth.
- Add Cocoa and Sugar: Gradually add in the powdered sugar and cocoa powder, mixing until well combined.
- Incorporate Liquid: Pour in the plant-based milk and vanilla extract. Beat until the mixture is smooth and fluffy. If the frosting is too thick, add a little more milk; if it’s too thin, add more powdered sugar.
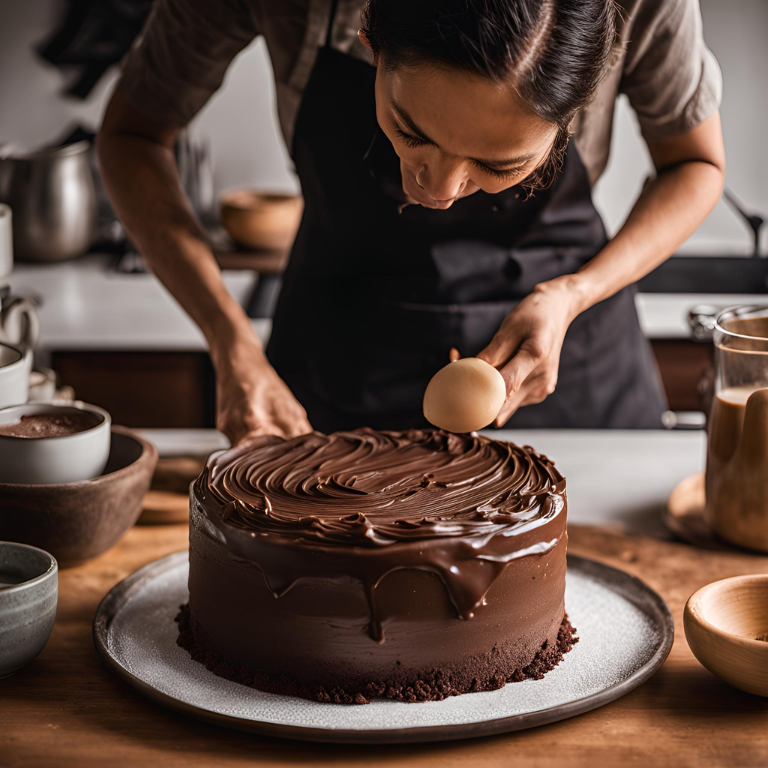
Assembling Your Chocolate Cake
Now that your cake has cooled completely, it’s time to assemble and decorate!
1. Level the Cake
If your cake has domed on top, carefully level it using a serrated knife to create an even surface. This will make frosting easier and more visually appealing.
2. Frost the Cake
Place the cooled cake on a serving plate. Spread a generous layer of frosting on top, and if you want, you can slice the cake horizontally to add frosting between layers for a more dramatic effect. Cover the sides and top with the remaining frosting.
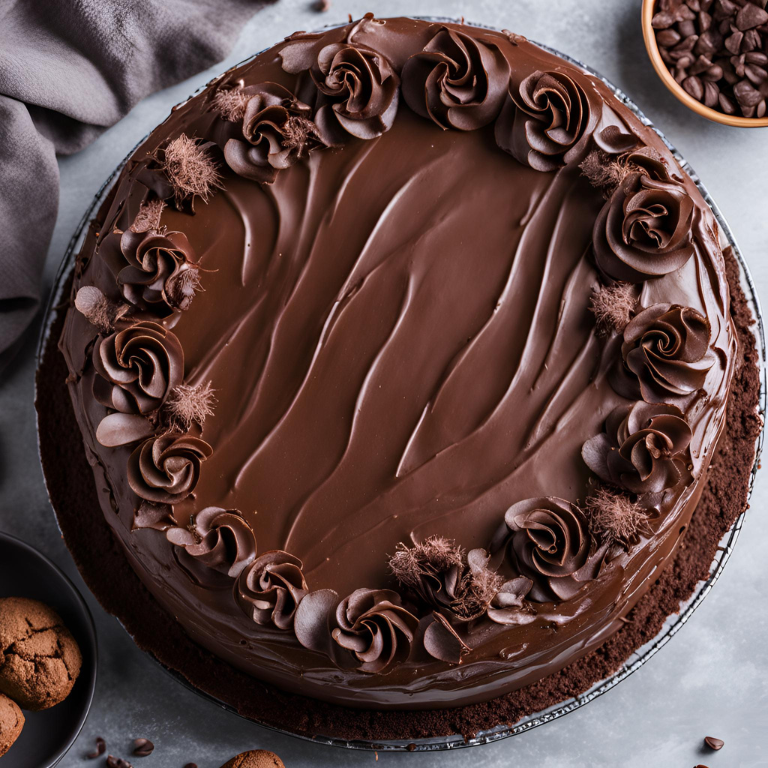
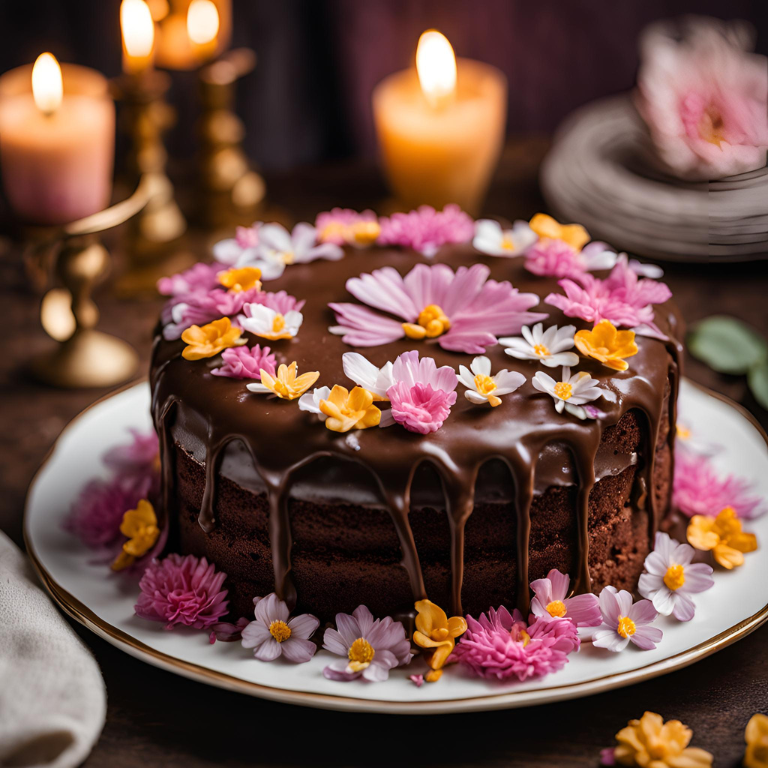
3. Decorate
Here are some creative ideas for decorating your chocolate cake:
- Chocolate Drip: Melt some dairy-free chocolate and let it drip down the sides for an elegant touch.
- Fresh Berries: Add fresh berries like strawberries or raspberries on top for a pop of color.
- Sprinkles: Use colorful sprinkles to give it a festive look.
- Edible Flowers: Add edible flowers for a touch of elegance.
- Chocolate Curls: Use a vegetable peeler to create chocolate curls from a bar of chocolate and sprinkle them on top.
Unique Chocolate Cake Designs
Once you have your basic chocolate cake assembled, you can get creative with unique designs:
Elegant Chocolate Drip Cake
For a chic and sophisticated look, add a chocolate ganache drip around the edges. Simply melt chocolate with a bit of coconut cream, allow it to cool slightly, and pour it over the top, letting it cascade down the sides. This design looks impressive and is surprisingly easy to achieve.
Layered Cake
If you have made two cakes, stack them with frosting in between for a layered effect. You can alternate layers of frosting with fresh fruit or even crushed cookies for added texture and flavor.
Birthday Chocolate Cake Design
For a birthday celebration, decorate your cake with colorful sprinkles, candles, and fun shapes made from fondant. You can also use a piping bag to create fun frosting designs on top, such as rosettes or stars. Personalizing it with a name or age adds a special touch!
Dark Chocolate Cake
If you prefer a richer flavor, you can use dark cocoa powder instead of regular cocoa powder. This gives the cake an intense chocolate flavor that pairs beautifully with the frosting.
Creative Chocolate Cake Variations
Feeling adventurous? Here are some fun variations to try with your no-oven, no-egg chocolate cake:
1. Chocolate Marble Cake
For a stunning marbled effect, divide your batter in half and mix one portion with vanilla extract. Alternate spoonfuls of each batter in the cake pan and swirl them together with a knife for a beautiful pattern.
2. Chocolate and Peanut Butter Cake
Layer your chocolate cake with creamy peanut butter frosting. You can make this by mixing creamy peanut butter with your chocolate frosting for a delicious combination that’s hard to resist.
3. Chocolate Lava Cake
For an indulgent treat, make chocolate lava cakes. These are individual cakes with a gooey, molten chocolate center. Bake them in ramekins and serve warm for the best experience!
4. Chocolate Cupcakes
Use the same batter to make chocolate cupcakes. Bake them in muffin tins and top with your favorite frosting. These are perfect for parties and easy to share!
5. Gluten-Free Chocolate Cake
To make a gluten-free version, replace the all-purpose flour with a gluten-free flour blend. Be sure to verify that all other ingredients are also gluten-free.
6. Chocolate Zucchini Cake
For a healthier twist, add finely grated zucchini to the batter. This will add moisture and nutrition without altering the flavor.
Tips for Perfecting Your No-Oven, No-Egg Chocolate Cake
To ensure your chocolate cake turns out perfectly every time, keep these tips in mind:
- Quality Ingredients: Using high-quality cocoa powder and plant-based milk will enhance the flavor of your cake.
- Room Temperature Ingredients: Allow your plant-based milk and oil to reach room temperature for better mixing.
- Don’t Overmix: When combining wet and dry ingredients, mix only until combined to ensure a light texture.
- Measure Accurately: Use a kitchen scale for precise measurements, especially for flour and sugar.
- Experiment with Flavors: Feel free to add flavors like espresso powder or almond extract for a unique twist!
- Visual Inspiration: Search online for “chocolate cake images” to get ideas for decorating and presenting your cake.
Troubleshooting Common Issues
Even the best bakers can face challenges. Here are some common issues and how to fix them:
Cake is Too Dense
If your cake turns out dense, it might be due to overmixing. Make sure to mix only until combined. Also, check your baking soda’s freshness, as expired baking soda may not provide enough lift.
Cake is Too Dry
If your cake comes out dry, it may have baked for too long or you may have used too much flour. Always measure your flour accurately and keep an eye on cooking time.
Frosting is Too Runny
If your frosting is too runny, add more powdered sugar until you achieve the desired consistency. Conversely, if it’s too thick, add a splash of plant-based milk.
Conclusion
Baking a chocolate cake without an oven or eggs is not only possible, but it can also be a fun and rewarding experience! With this easy recipe, you can create a delightful chocolate cake that everyone can enjoy, regardless of dietary preferences. From the rich, moist texture to the smooth, luscious frosting, this cake is sure to impress at any gathering.
So gather your ingredients, get creative with your designs, and embrace the joy of baking—no oven required! With this guide, you now have the tools and knowledge to make a delicious no-oven, no-egg chocolate cake that will satisfy any chocolate lover. Happy baking!
For any questions or feedback, feel free to reach out to us through our Contact Us page!


1 thought on “How To Make a Delicious Eggless Chocolate Cake”